How to Reshape Face in PT Photo Editor
In PT Photo Editor, Liquify tools can be easily used to actually reshape or define someone's facial structure. Want to get rid of that double chin, or perhaps get a more pronounced jawline or lose that large nose? This tutorial will show you how it's done.
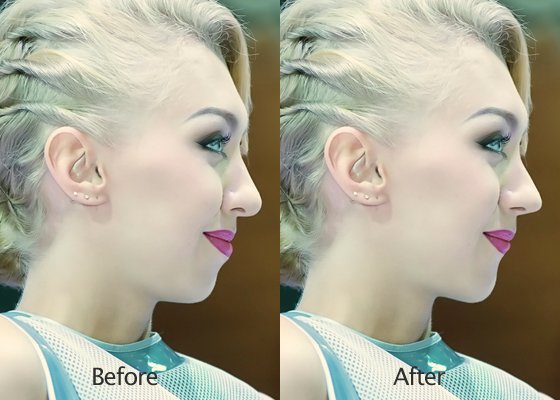
The Liquify tools let you push, pull, rotate, pucker, and bloat any area of an image. In the following example, we use Forward Warp tool to transform the girl's nose, lips and chin, making her face more attractive.
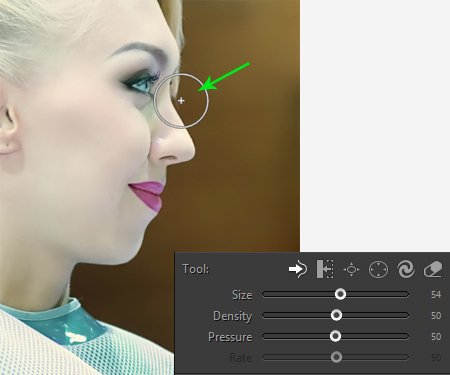
1. Open the image in PT Photo Editor, zoom in to the face area. Locate the Liquify tool which is situated in the tool stripe below the Navigator. You can also select it by pressing its shortcut key [Q].

2. Reshape Nose: Select the Forward Warp tool, adjust the brush to a proper size using mousewheel.
Note: You can use the Reconstruct tool  to reverse the distortion you've already added.

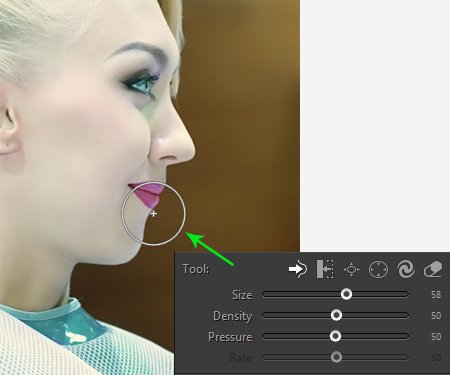
3. Lower lip:
4. Cheek:
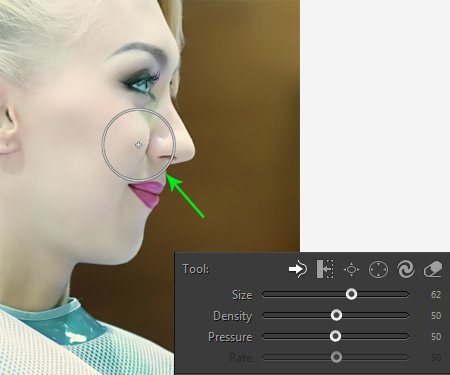

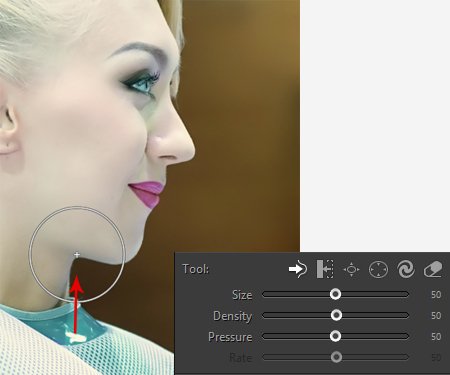
5. Chin:
Photoshop&Lightroom are trademarks of Adobe Systems Inc.