Rescue Poorly Exposed Photos 2 – Fix overexposed Photos
Continuing the theme of rescuing poorly exposed photos, today’s tutorial is about how to fix overexposed photos in PT Photo Editor.
In simple terms, an overexposed photo means it is too bright. A photo gets overexposed when too much of light enters through the lens. It happens easily enough when you take a photo in direct sunlight or the light source is too strong for the subject.
Fix an overexposed photo
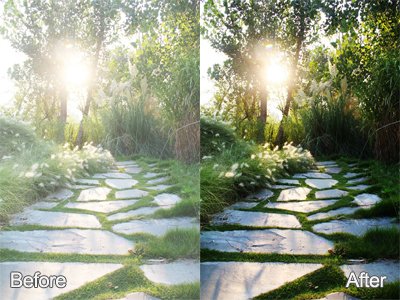
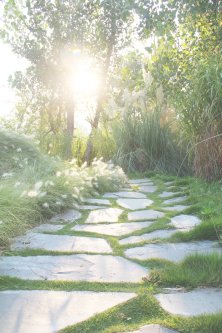
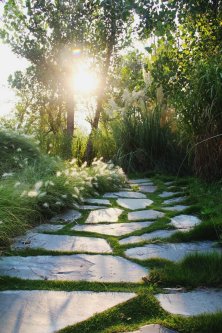
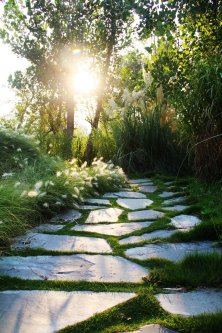
Here is an overexposed photo, in PT Photo Editor, you may try some easy ways to fix it.
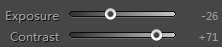
1. Use "Exposure" and "Contrast" to make a quick adjustment
Tweaking "Exposure" in Basic panel is the simplest way to darken the image, while too much may increase the black pixels, ruining the shadow details of the original image. For this photo, because there are no black pixels in the original image, dragging "Exposure" to the right won't harm the details. But when darkening the image, you'll find the gray pixels are increased, so after that I add some "contrast" to make the image clearer.
 |
 |
2. Make a precise tonal fixing with Levels
Compared to "Exposure" and "Contrast", the Levels tool provides more precise tonal correction, and it gives you separate control over the shadows, highlights, and midtones in your photo.
This photo’s histogram is typical of an overexposed photo. We can see that the left edge (black part) of the histogram does not reach the left edge of the box. In an ideally exposed photo, we usually want to take full advantage of the entire tonal range.
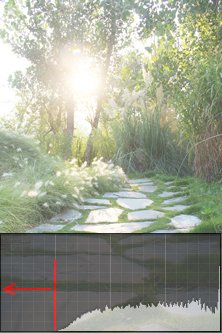
First pull the histogram to the left edge until the darkest pixels in the image become pure black by tweaking the "Black" slider. While this adjustment makes some improvement, the image still looks bright, because there are too much pixels concentrated in the right part of the histogram. Moving the "Midtone" slider to the left can darken the entire tone without increasing any black pixels in the image. And then, you may tweak some "Shadow" to boost the image contrast.
 |
 |
3. The most flexible tool in tonal adjustment - Curves
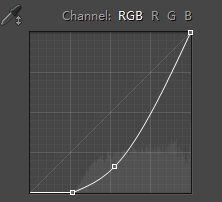
You can also use Curves to darken this photo quickly. As the image shows, in RGB channel, first shift the anchor point from its starting position in the bottom-left of the box to expand the tonal range, making the darkest pixels become pure black. Then drag down the point in the lower part of the Curve, this will darken the entire image while increase its contrast by darkening the shadows more, and the highlights less.
 |
 |
Photoshop&Lightroom are trademarks of Adobe Systems Inc.