How to Use Gradient Tool to Retouch a Photo
In PT Photo Editor, the Gradient Tool is used to create a gradient region in the photo, where you can apply adjustment effects gradually across the region. This is very useful for selective image editing. For example, the sky can be easily overexposed in landscape photography. A simple gradient selection applied across the bright sky line allows selective exposure reduction.
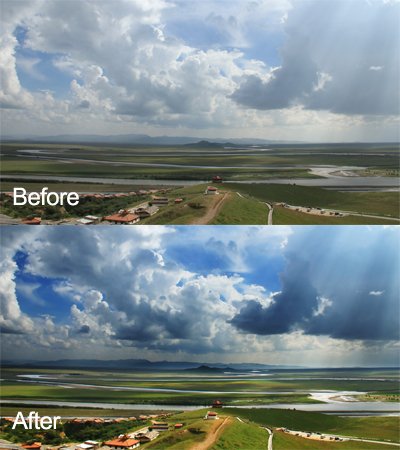
This example will show you how to use Gradient Tool to make a landscape photo pop.
1. Use Gradient Tool to create a selection across the sky.
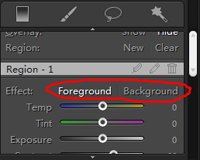
Click the tag "Regional Edit" in the top right or press [F3], locate the Gradient Tool which is situated in the tool stripe below the Navigator. The sliders Start, Mid and End in the panel are used to control the change rate of the opacity in the gradient region.
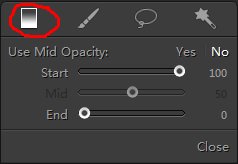
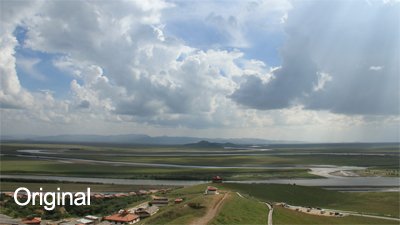
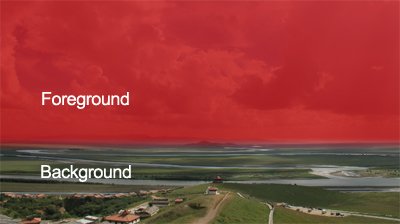
In this image, in order to selectively apply adjustment effects to the sky area, while keeping the connection of sky and ground look natural, I set Start=100, End=0, and click in the image to create a selection (red overlay) like this:
Note: To drag a vertical/horizontal line, press [Shift].
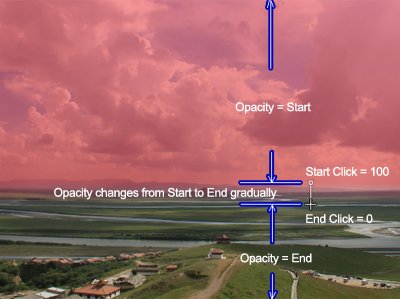
After the End Point clicking, a red overlay is shown in the image, which represents the selected area. When you drag effect sliders, the adjustment result will be applied in the image in real-time while the red overlay hidden temporally. If you want to keep the overlay hidden, click Overlay Hide or press [O].
 |
 |
In "Regional Edit" Module, the adjustments panel contains two portions – Foreground and Background. The adjustments in the Foreground panel are used to enhance the selected area, while the Background adjustments affect the unselected area.
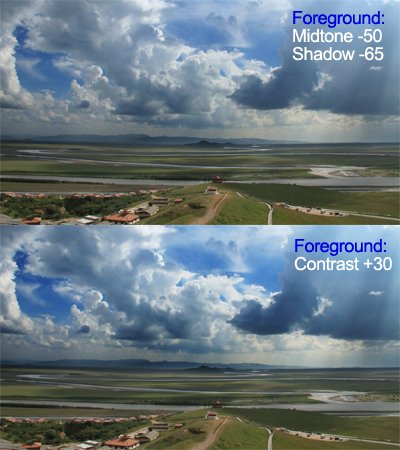
2. Add effects in Foreground to boost the sky.
To apply effects to the selected sky area, adjust sliders in the Foreground panel. Since the sky looks a little overexposed and washed out, I use "Midtone" and "Shadow" sliders to darken it. Unlike using "Exposure" slider, these won’t affect the whites of the sky. Then I add some "Contrast". Now you can see the clear sky full of the vibrant clouds and lights.
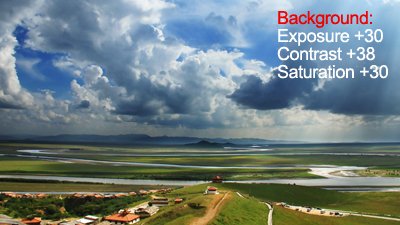
3. Enhance the ground with Background adjustments
After adjusting the sky, I switch to Background panel to enhance the unselected ground. First I tweak some "Exposure" to make it brighter, and then increase a little "Contrast" and "Saturation".
Photoshop&Lightroom are trademarks of Adobe Systems Inc.