Install Lightroom Plugin
If you already have Lightroom installed on your computer, when you run PT Watermark installation file, it will install the plugin automatically. If you didn't quit Lightroom before the installation, please restart it after the installation finished.
If it doesn't work, you can install the plugin manually.
Install Lightroom Plugin
- Start Lightroom.
- Select File > Plug-in Manager.
- Click the "Add" button.
- Browse to the folder where you installed PT Watermark, choose "pt-watermark.lrdevplugin" folder and click on the "Select Folder" button.
- The PT Watermark plugin should show in the list.
Add to Lightroom as an External Editor
- Start Lightroom.
- Choose Edit > Preferences.
- Click tab "External Editing".
- Click "Choose" button in the Additional External Editor area.
- Browse to the folder where you installed PT Watermark, select "PTWatermark.exe", then click "Choose" button.
- Set preferences for working in PT Watermark. The default options are as follow:
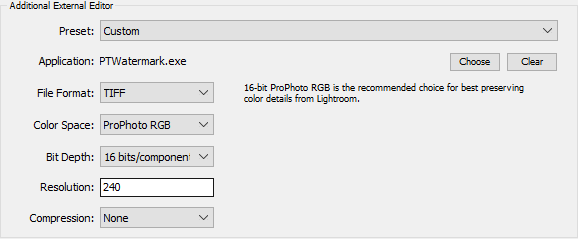
Note: PT Watermark only supports JPEG and TIFF format. - Choose Preset > Save Current Settings As New Preset.
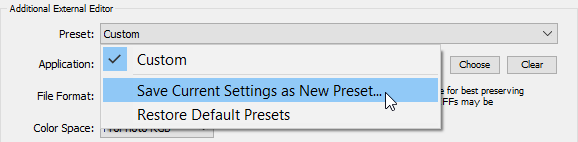
- Type a name for the preset and click "Create".
- Click "OK" to exit.
- Right click a photo, expand the "Edit In" menu, you will find PT Watermark preset in the list.
Copyright©Chengzhu Li, 2009-2026. All rights reserved.
Photoshop&Lightroom are trademarks of Adobe Systems Inc.
Photoshop&Lightroom are trademarks of Adobe Systems Inc.