PT Portrait 6
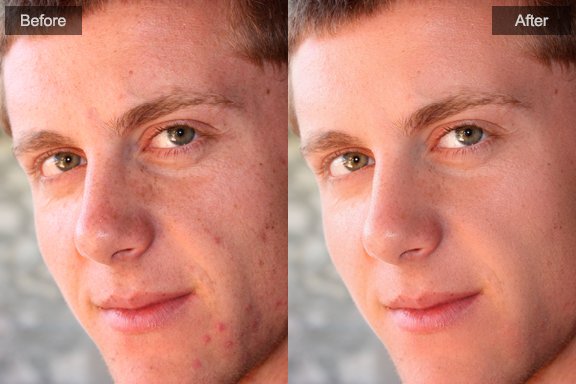
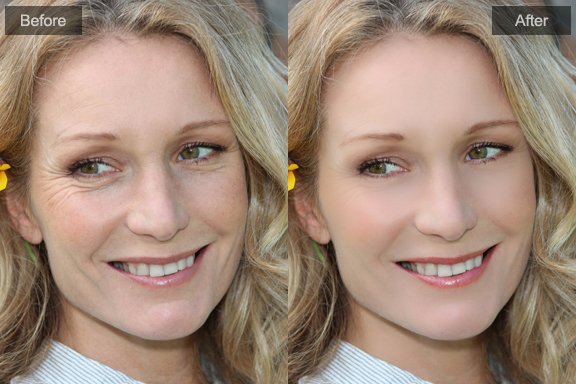
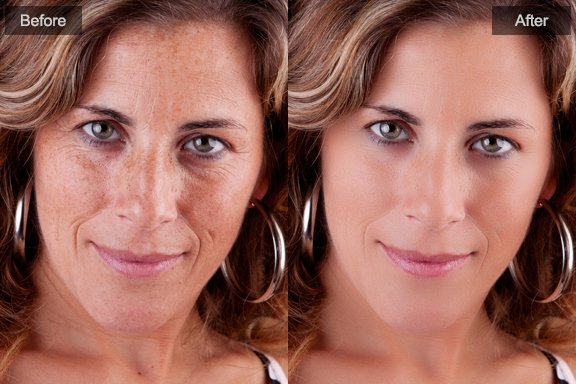
Adjust skin mask to get the best portrait retouching result
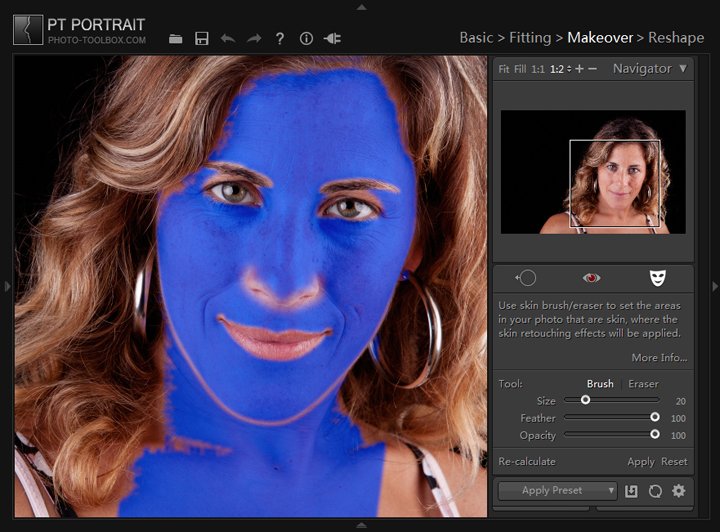
PT Portrait automatically works out which area in your picture is skin. However, the automatic area selected can sometimes be adjusted to improve the result.
In Makeover module, click![]() to open the skin mask edit box:
to open the skin mask edit box:
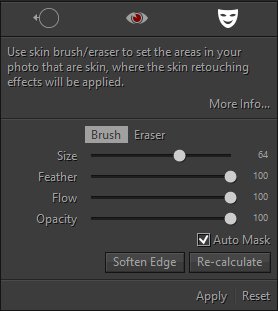
Blue mask in photo shows where the skin retouching effects will be applied. The opacity of the color shows the strength of retouching effects.
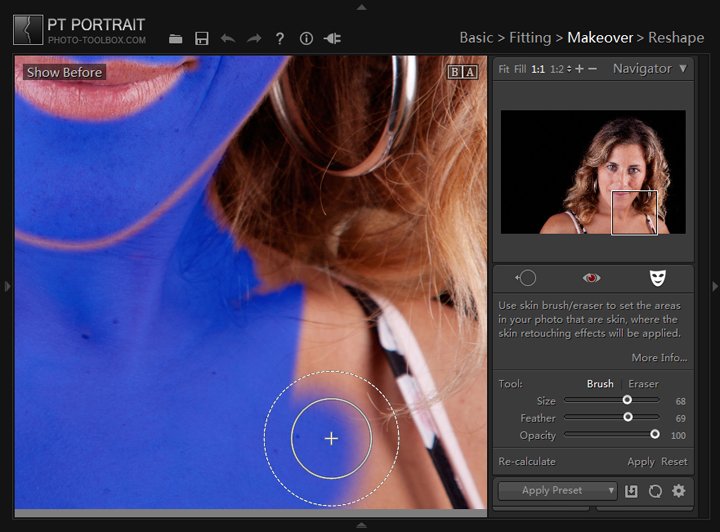
Brush - Extend skin mask.
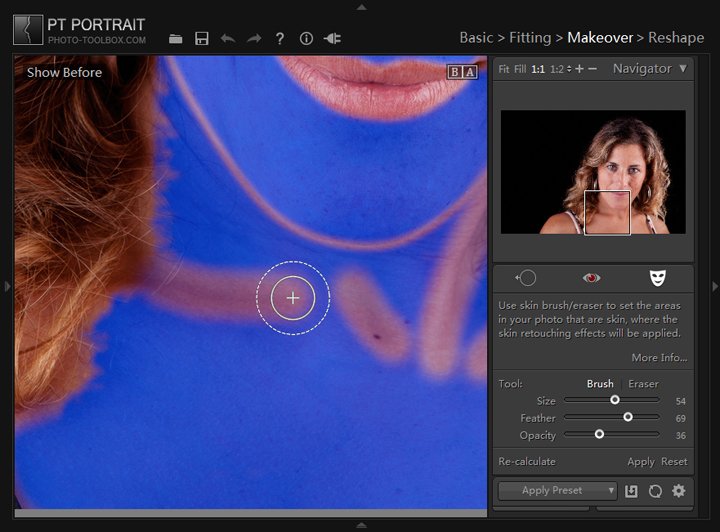
Brush Opacity – The maximum opacity of the painted area.
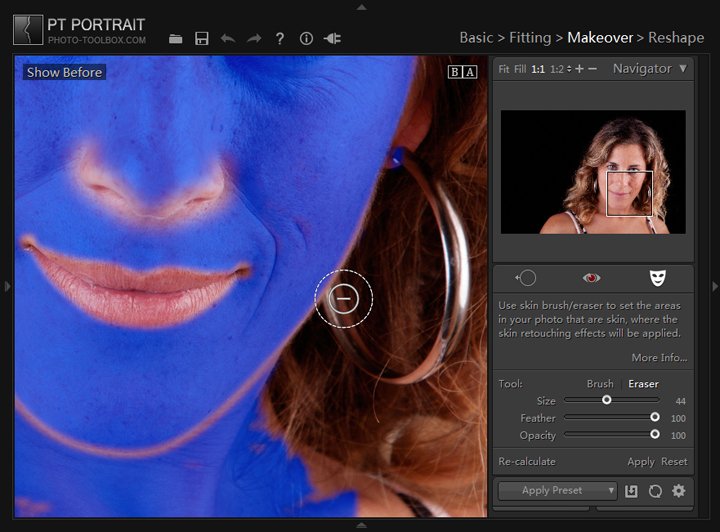
Eraser - Exclude incorrect skin mask.
Flow - How much paint is applied to the area for every stroke. Multiple strokes will increase the paint strength.
Feather – Creates a soft-edged transition between the painted area and the surrounding pixels. When you use the brush/eraser, the distance between the inner and outer circle represents the feather amount.
Auto Mask – Confines brush/eraser strokes to areas of similar color.
Soften Edge – Make the entire mask edge softer.
Apply – Apply current operation, you can also click ![]() in the tool strip.
in the tool strip.
Reset – Cancel current operation.
Recalculate – Recalculate skin mask with the facial outlines created in Fitting. Clicking Recalculate button also removes all previously operations.
Example:
1. Default skin mask
2. Remove wrong skin mask
3. Extend the skin retouching effects applied area
4. Reduce the opacity of the over retouched skin area
5. Refined skin mask

Photoshop&Lightroom are trademarks of Adobe Systems Inc.