Photo Toolbox
Color Adjustment
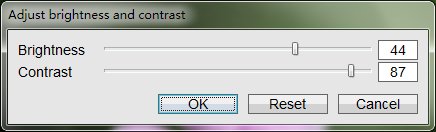
Adjust Brightness and Contrast
Adjustment of brightness and contrast allows you to make your photo more clear and brighter.
Hotkeys: Adjust Brightness and Contrast[Ctrl+B]

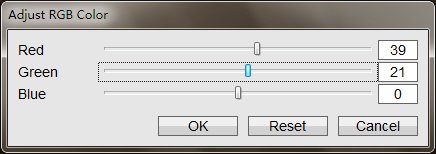
Adjust R, G, B Level
This tool allows you to adjust the levels of each channel.
Hotkeys: Adjust R, G, B Level[Ctrl+Shift+B]

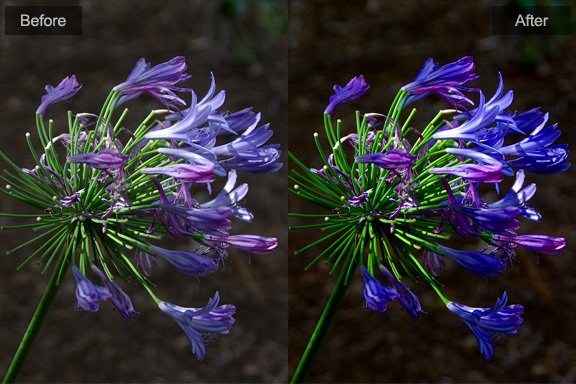
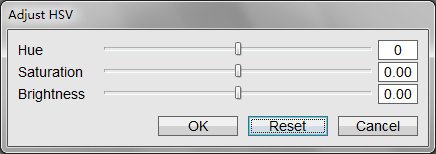
Adjust Hue, Saturation and Brightness
HSV is a most common cylindrical-coordinate representations of points in an RGB color model, which rearrange the geometry of RGB in an attempt to be more perceptually relevant than the cartesian representation.
Hotkeys: Adjust HSV[Ctrl+U]
| Before | After | |
|---|---|---|
| H | 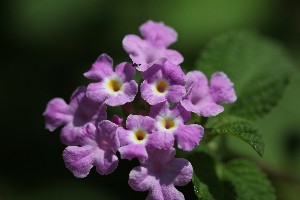 |
 |
| S | |
 |
| V | |
 |
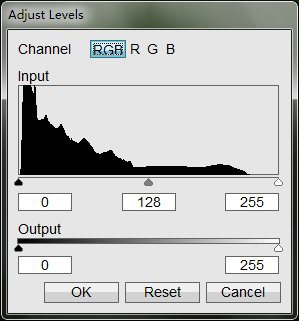
Adjust Image Levels
See how to adjust image levels.
You use the Levels adjustment to correct the tonal range and color balance of an image by adjusting intensity levels of image shadows, midtones, and highlights. The Levels histogram is a visual guide for adjusting the image key tones.
How to read a histogram
A histogram illustrates how pixels in an image are distributed by graphing the number of pixels at each color intensity level. The histogram shows detail in the shadows (shown in the left part of the histogram), midtones (shown in the middle), and highlights (shown in the right part) A histogram can help you determine whether an image has enough detail to make a good correction.
The histogram also gives a quick picture of the tonal range of the image, or the image key type. A low-key image has detail concentrated in the shadows. A high-key image has detail concentrated in the highlights. And, an average-key image has detail concentrated in the midtones. An image with full tonal range has some pixels in all areas. Identifying the tonal range helps determine appropriate tonal corrections.
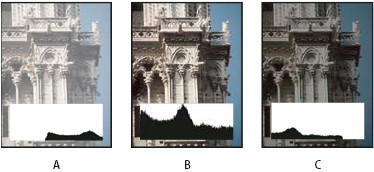
A.Overexposed photo B.Properly exposed photo with full tonality C.Underexposed photo
The Histogram panel offers many options for viewing tonal and color information about an image. By default, the histogram displays the tonal range of the entire image. To display histogram data for a portion of the image, first select that portion.
Hotkeys: Adjust Levels[Ctrl+L]
Adjust Image Curves
The Curves Tool usually be used to improve color tones in a photo by adjusting highlights, midtones, and shadows in each color channel. For example, this tool can fix photos with silhouetted images resulting from strong backlighting, or slightly washed-out objects that were too close to the camera’s flash.
Adjusting color curves in an image:
- In the Editor, open an image.
- To adjust a specific image area or layer, select it with one of the selection tools. (If no selection is made, the adjustment applies to the entire image.)
- Choose Image > Adjust > Curves. Or press [Ctrl + M].
- Adjust adjust points for Highlights, Midtone and Shadows.
- To apply the adjustment to your image, click OK. To cancel the adjustment and start over, click Reset. To close the Curves dialog box, click Cancel.
Hotkeys: Adjust Levels[Ctrl+L]

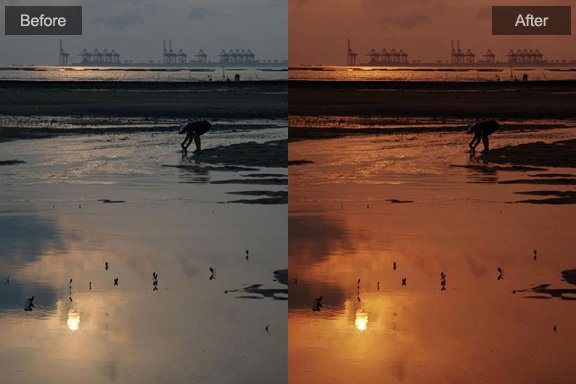
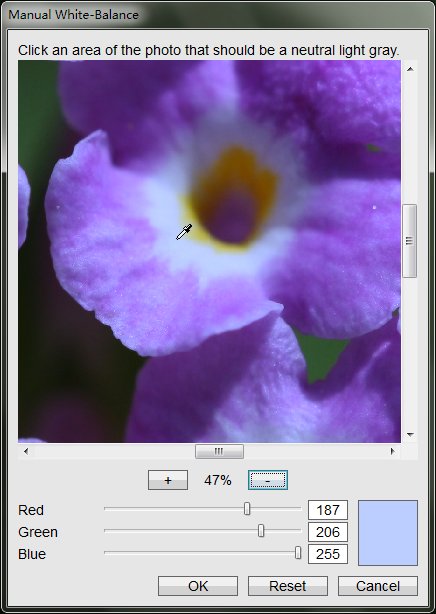
One-Click White Balance
White Balance is the global adjustment of the intensities of the colors (typically red, green, and blue primary colors). An important goal of this adjustment is to render neutral colors correctly; hence, the general method is sometimes called gray balance, neutral balance, or white balance.
Operation: Click the pixel in original image which you think should be neutral color.
Hotkeys: Manually White Balance[Ctrl+W]

Negative Color
Convert pixels to there negative values, like a negative film.
Hotkeys: Negative Color[Ctrl+N]
| Before | After |
|---|---|
|
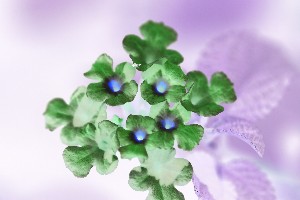 |
Inverse Hue
Offset hue of pixels with 180 degrees.
Hotkeys: Inverse Hue[Ctrl+I]
| Before | After |
|---|---|
|
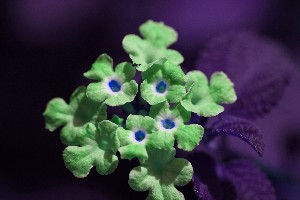 |
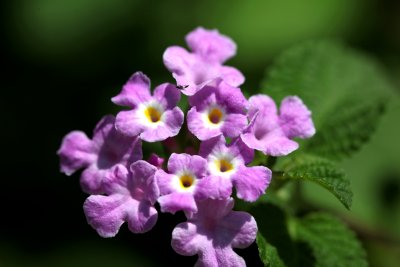
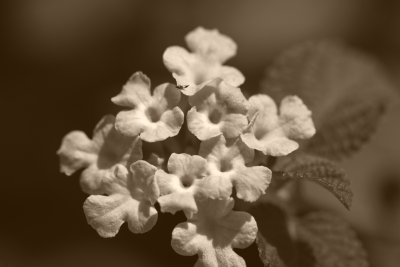
Decolor(Black & White)
Convert a color image to grayscale.
Hotkeys: Decolor[Ctrl+D]
| Before | After |
|---|---|
|
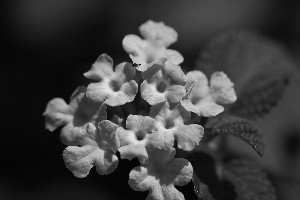 |
Photoshop&Lightroom are trademarks of Adobe Systems Inc.