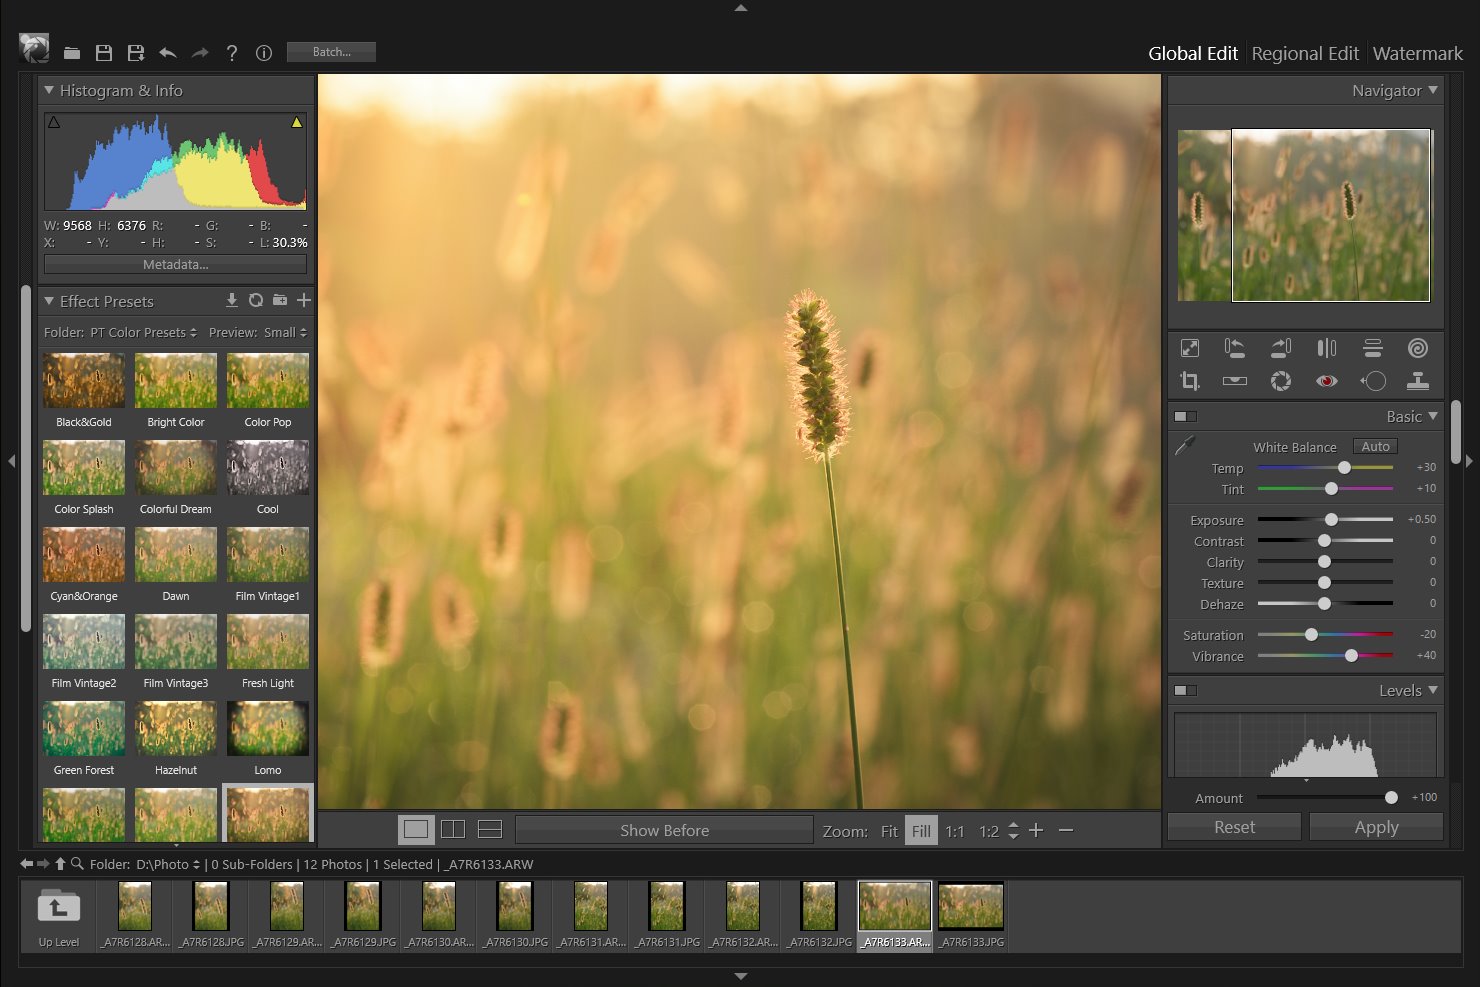
PT Photo Editor 5
- Provides plenty of useful adjustments and handy retouching tools
- Preserves every detail of your RAW with high quality 16/32-bit algorithms
- Supports viewing/editing image metadata
- Creates proffesional look watermarks
- Does everything in batch
Manage Watermark Presets

Presets provide a way to save a group of watermark and frame settings as templates and apply them to other images by one click.
Apply a preset: To apply a watermark preset to the photo, double-click it or right-click it and choose "Apply".
Preview a preset: When you click a preset name, a preview is displayed at the top of the left panel.
Filter presets: The symbol in front of the preset name shows what type of watermark preset it is.
 - Only includes frame
 - Only includes watermarks
 - A combination of watermarks and frame
Click the drop-down menu to filter your presets with four options:

- None – All presets
- Frame - Only frame without watermark
- Watermark - Only watermark(s) without frame
- Combined - A combination of watermark(s) and frame
Create a new preset: In the Watermark module, click the ![]() button at the top of the Presets panel, then type a name in the Preset Name box and click OK. The preset is added to the list in the Presets panel.
button at the top of the Presets panel, then type a name in the Preset Name box and click OK. The preset is added to the list in the Presets panel.
Update a preset: Right-click a watermark preset and choose "Update".
Rename a preset: To rename a watermark preset, right-click it and choose "Rename".
Delete a preset: To delete one or more watermark presets, select and right-click the presets, choose "Delete".
Import and export presets:
To import presets, right-click on the presets panel and choose "Import...", then select the preset files and click "Open".
To export presets, right-click the selected presets and choose "Export...". Specify a file folder and click "OK".
Restore default presets: Right-click on the presets panel and choose "Restore default presets".
Photoshop&Lightroom are trademarks of Adobe Systems Inc.