PT Photo Editor 5
- Provides plenty of useful adjustments and handy retouching tools
- Preserves every detail of your RAW with high quality 16/32-bit algorithms
- Supports viewing/editing image metadata
- Creates proffesional look watermarks
- Does everything in batch
View/Edit Image Metadata
Metadata is a set of standardized information about a file, such as author name, copyright, and keywords applied to it. Most digital cameras attach some basic information to an image file, such as time the image was taken, camera model name, exposure value, ISO. You can use metadata to streamline your workflow and organize your files.
PT Photo Editor provides three ways of working with metadata in RAW/JPEG/TIFF files:- View and edit metadata during the image editing process.
- Change metadata without opening the image files.
- Edit metadata using "Batch" tool.
And you can save specific metadata modifications as a preset for reuse on one or more photos.
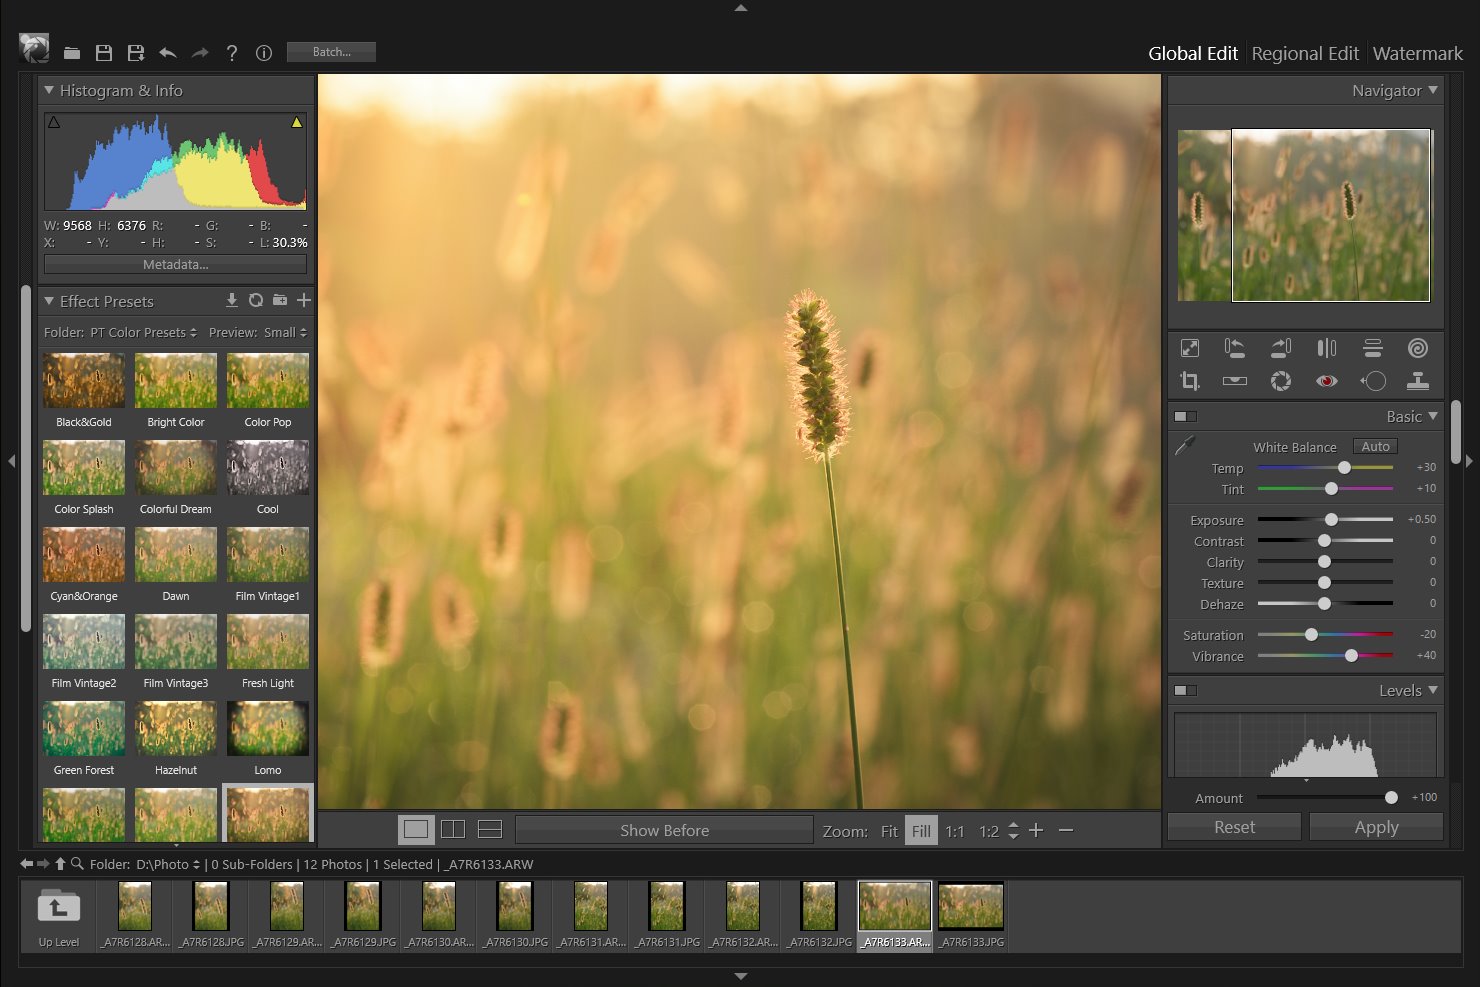
View and edit metadata during the image editing process
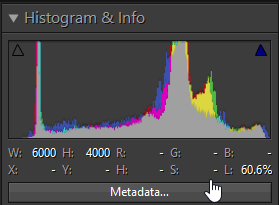
When you have an image open for editing, you have two ways to open the metadata editing dialog:- Click "Metadata..." button in the "Histogram & Info" panel at the left top side.
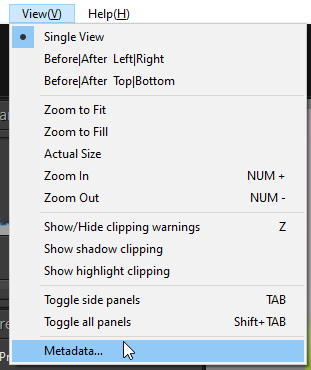
- Choose [View]->[Metadata...] from the top menu.
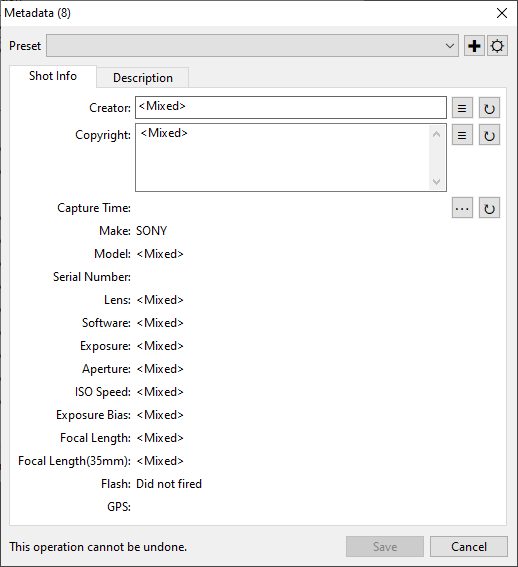
In "Metadata" dialog, there are two parts of information: Shot Info and Description. After you click "OK", all the metadata changes you made are temporarily stored. That means the modified metadata information can be used in watermark editing, but it won't be written to the original image file automatically. Before you save the edited image, the metadata can be restored at anytime.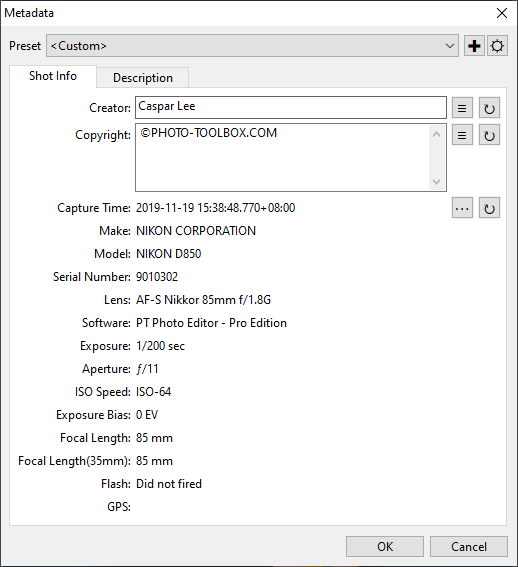
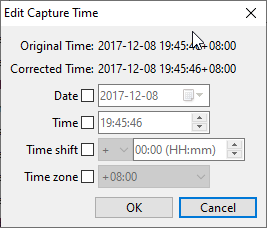
In the "Edit Capture Time" dialog, select the type of adjustment:
Date/Time - Changes the capture date/time to the date/time you specify.
Time shift - Changes the capture time by the number of hours and minutes you add to or subtract from the original time.
Time zone - Adds or changes the time zone data.
Change metadata without opening the image files
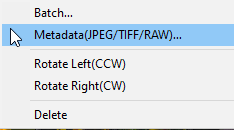
If you want to view and edit the metadata of one or more images without opening the files, you can right-click on the files in the image browser and choose "Metadata..." to open the metadata editing dialog.
If you select more than one images, in "Metadata" dialog, the "<mixed>" means the images you selected have different metadata contents, you can modify them to a uniform content or change it to blank there to clear them all.
Note: When you click "Save", the modifications will be written to the file directly, which cannot be undone.
Edit metadata using "Batch" tool

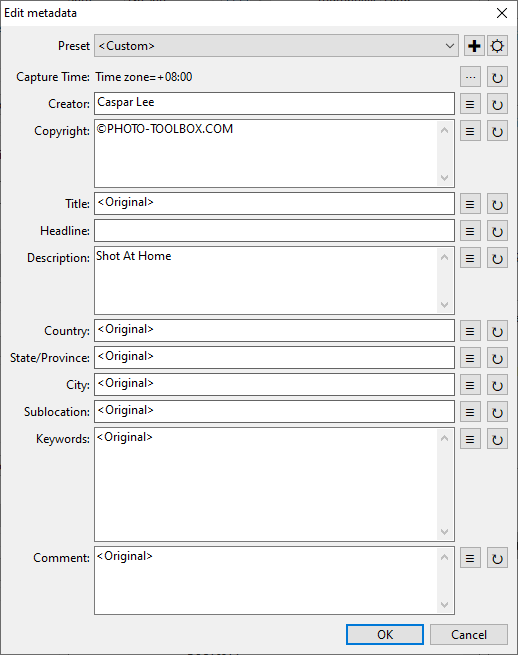
In the "Batch" window, if you want to edit the metadata, check the checkbox next to the "Edit metadata…" button. Then click the button to set the modifications.
In the "Edit metadata" dialog, the "<Original>" means keep the original content unchanged. To delete the content, leave a blank there.
Save specific metadata modifications as a preset
In the metadata editing dialog, you can save specific metadata modifications as a preset for reuse on one or more photos. Using a metadata preset saves you the effort of manually entering the same information for different photos.
Create a preset
- Click "✚" button at the top of the metadata editing dialog.

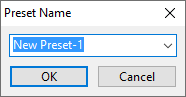
- Type a name in the Preset Name dialog and click "OK".
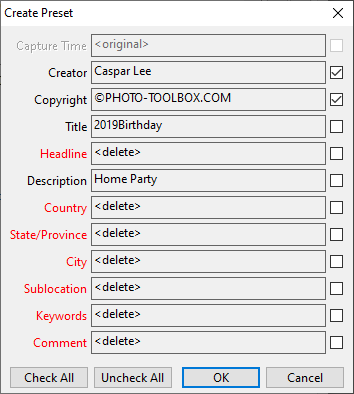
- Specify the modifications you want to include in the preset and click "OK".
Manage Presets
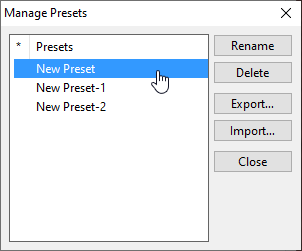
Click the Manage presets button "☼" to open the Manage Presets dialog.
- To import presets, click "Import…", then choose the preset files and click "Open".
- To export presets, select the presets and click "Export…", then specify a file folder and click "OK".
- To delete presets, select the presets and click "Delete".
- To rename a preset, select the preset and click "Rename".
Photoshop&Lightroom are trademarks of Adobe Systems Inc.