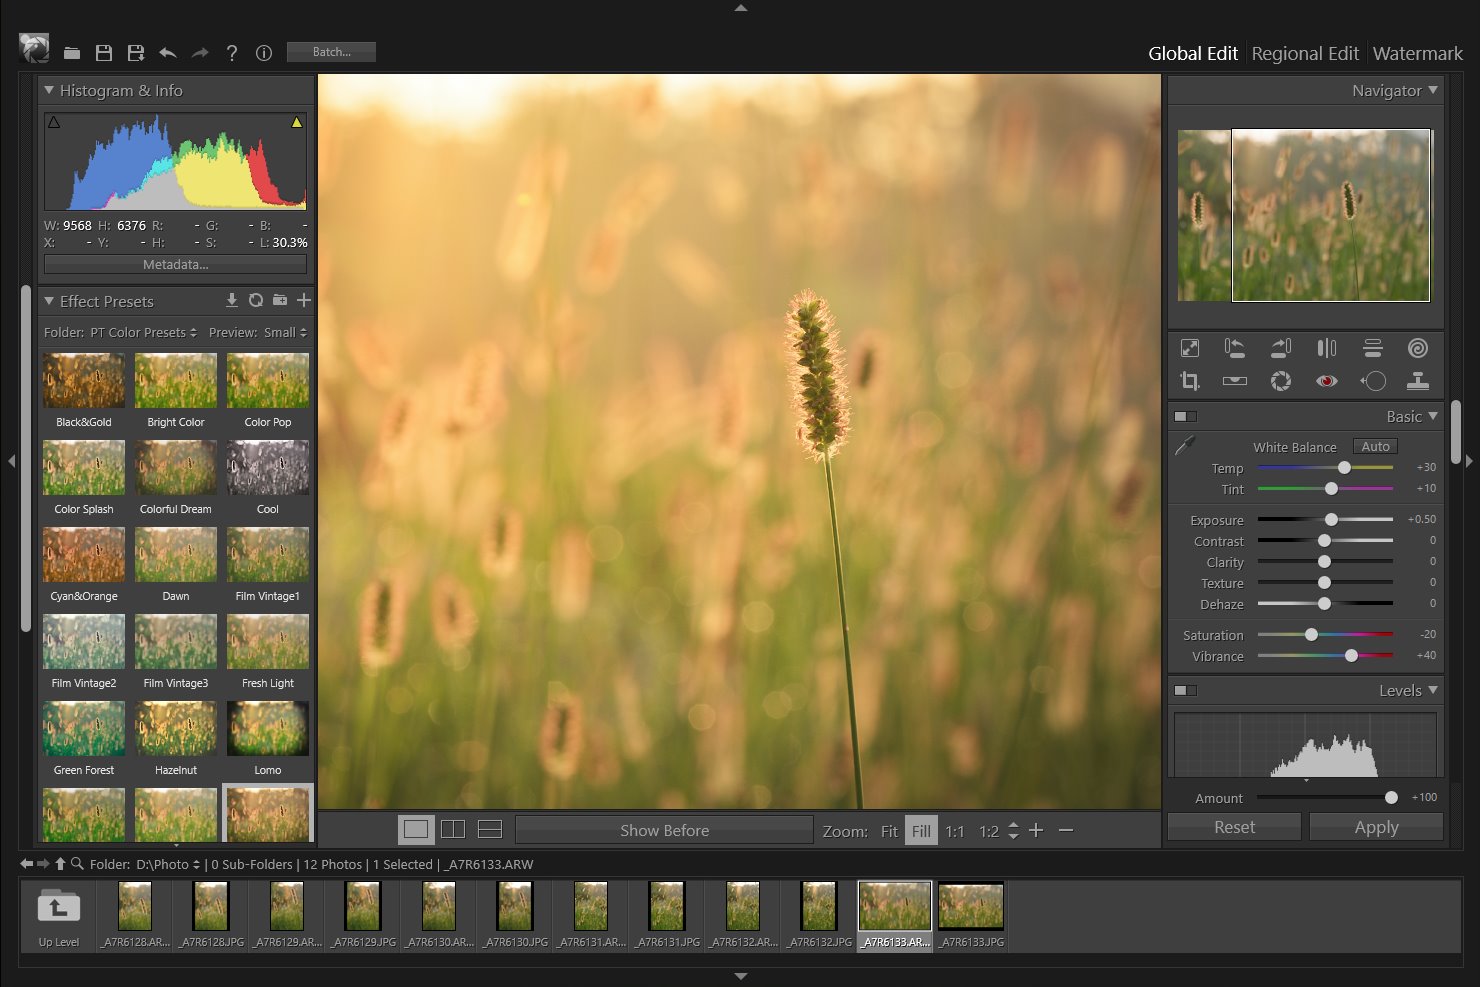
PT Photo Editor 5
- Provides plenty of useful adjustments and handy retouching tools
- Preserves every detail of your RAW with high quality 16/32-bit algorithms
- Supports viewing/editing image metadata
- Creates proffesional look watermarks
- Does everything in batch
Vignette & Grain Effects
Vignette
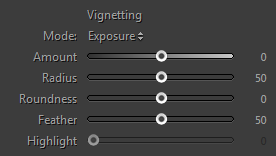
The Vignetting section of the Effect panel is used to apply a dark or light vignette for artistic effect to a photo. The Vignette effect can add depth and mood to your images.
 |
 |
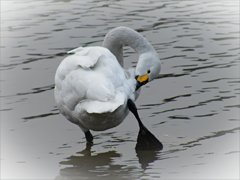 |
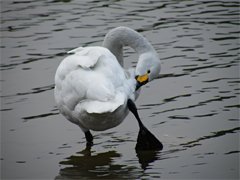
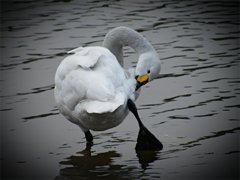
| Original | Dark Vignette Applied | Bright Vignette Applied |
Exposure Mode: Darken or lighten the corners of image by adjusting exposure.
Paint Overlay Mode: Paint black or white color over the corners of the image.
Amount: Negative values darken the corners of the image. Positive values lighten the corners.
Radius: Lower values apply the Amount adjustment to a larger area away from the corners. Higher values restrict the adjustment to a smaller area closer to the corners.
Roundness: Lower values make the vignette effect more rectangular. Higher values make the vignette effect more circular.
Feather: Lower values reduce softening between the vignette and the vignette’s surrounding pixels. Higher values increase the softening.
Highlight: Controls the degree of highlights preserved when Amount is negative. The higher values are, the more highlights are protected.
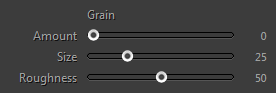
Grain
The Grain section of the Effects panel has controls for creating a stylistic effect reminiscent of particular film stocks. You can also use the Grain effect to mask resampling artifacts.
Together, the Size and Roughness sliders control the look of the grain. Check grain at varying zoom levels to ensure it appears as desired.
 |
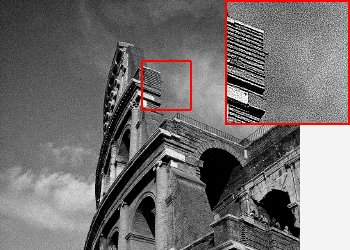 |
| No Grain Applied | Grain Applied |
- Amount: Controls the amount of grain applied to the image. Drag to the right to increase the amount. A value of zero (0) turns off grain.
- Size: Controls grain particle size.
- Roughness: Controls the distribution of the grain. Drag to the left to make the grain more uniform; drag to the right to make the grain more uneven.
Photoshop&Lightroom are trademarks of Adobe Systems Inc.