Photo Toolbox
6
How to remove stains from a photo with Clone-Stamp tool ?
In old times, you had taken a picture that was blurred, interrupted, mis-aimed or poorly timed, you were stuck with whatever the film produced. But now you can scan or load it into Photo Toolbox and enhance your image, or, in some cases, even touch up and fix problems such as water stains that may have ruined a picture in the past.
The Clone Stamp is a very powerful tool which can be used to remove most kinds of stains, scratches and blemishes. After reading this article, you'll know how to remove stains from a photo with clone stamp tool in Photo Toolbox.
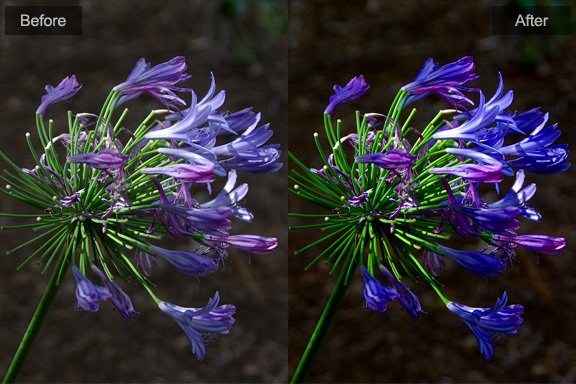
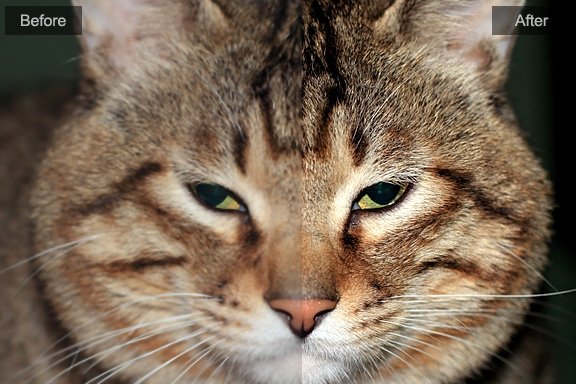
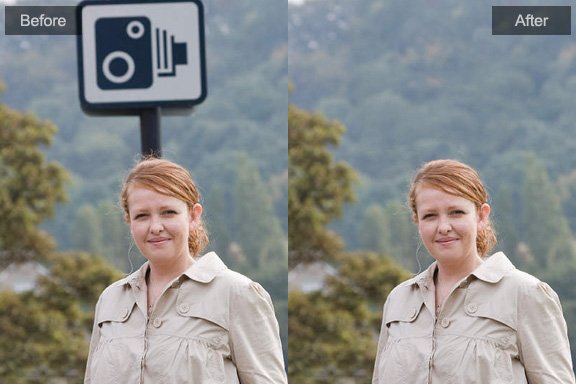
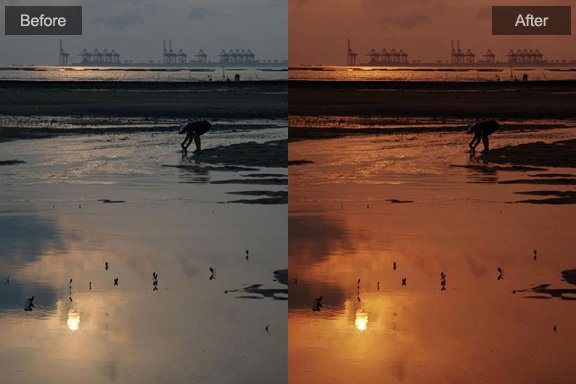
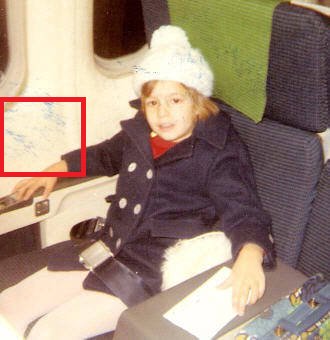
The left picture below is the original photo with ink stains, and in the right is the one after fixing. You can click on the pictures to download the full-size image file.
| Before | Fixed |
|---|---|
 |
 |
Instructions:
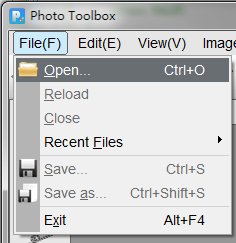
- Open the problem photo in Photo Toolbox. Go to the 'File' menu at the very top left of the toolbar, then select 'Open' and browse to find your image.
- Zoom in on the area with the ink stain; hit your 'plus' key to get the damaged area as centered and big as possible on your screen.
- Find an area next to the ink stain with the same colors and patterns; zoom up so that the ink stain and an unstained part are both on your screen.
- Click the Clone Stamp tool
 , which is in the side-bar on the left of your screen. (It looks like a little craft stamper or something someone would use to stamp 'Canceled' on a check.)
 - Adjust the Clone Stamp properties at the top of the screen(below the toolbar); choose the pen size best suited to your area. Change the opacity and hardness to the middle range to avoid the hard edges effect.

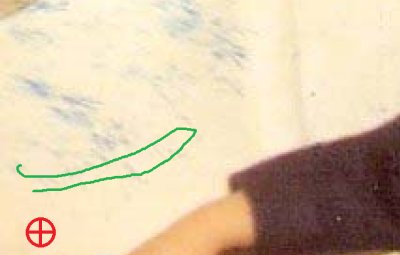
- Move your cursor on top of your picture; notice it is now a round, empty circle. Hover your cursor over an area of the picture that is similar to the stained part. Press and hold down the 'Alt' key. Notice your cursor turns into a stamper.
- Click your mouse button one time on the non-stained area(At the red stamper). Release the 'Alt' key and then move your cursor to the stained spot. Click and hold your mouse key and then drag it around the stain(Follow the green line). Notice how the non-stained part now appears in the stained spot.

- Repeat this process all around the stained area, making the spot look uniform with the rest of the picture. Pay attention to the original textures.
- Save your picture by going to 'File,' 'Save As' and renaming it. (Never use 'File' and then 'Save' because this will overwrite your original.)
1. How to adjust levels
2. How to use Lasso tool
3. How to use Polygonal Lasso tool ?
4. How to use Rectangular and Elliptical Marquee tools
5. How to use USM Sharpen tool
6. How to editing photo with Clone Stamp tool
7. How to remove stains from a photo with Clone-Stamp tool
Copyright©Chengzhu Li, 2009-2024. All rights reserved.
Photoshop&Lightroom are trademarks of Adobe Systems Inc.
Photoshop&Lightroom are trademarks of Adobe Systems Inc.