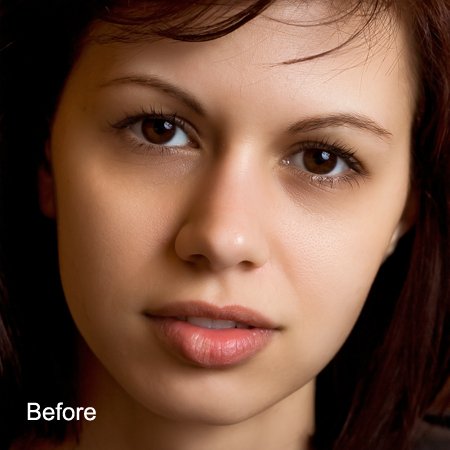
Dodge and Burn with Brush: Remove Dark Circles Under Eyes
This tutorial shows you how to use brush as a Dodge/Burn tool to brush over areas of a photo that you want to make lighter or darker, or parts of a photo where you want to adjust the color.
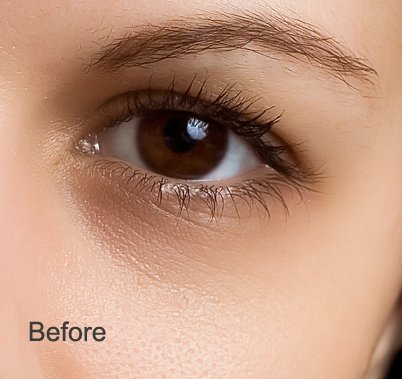
For example, to lighten dark circles under eyes:
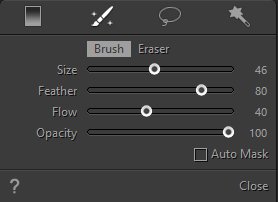
1. Select the Brush tool in Regional Edit module
Because the “Flow” controls how much paint is applied to the area for every stroke, and the “Opacity” controls the maximum opacity that the brush paints, when you set the brush flow value lower and opacity value higher, the more you paint over an area with the brush, the stronger effect is added.
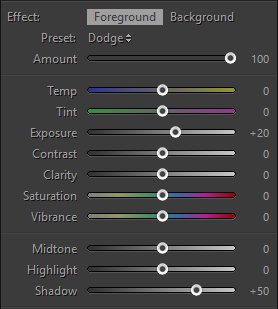
2. Specify the effects you want to add in Foreground panel
To add a dodge effect to the areas of dark circles under eyes, I increased the exposure and shadow.
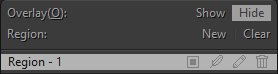
3. Choose “Overlay Hide” (press [O]) so that you can view the editing effect in real time when painting.
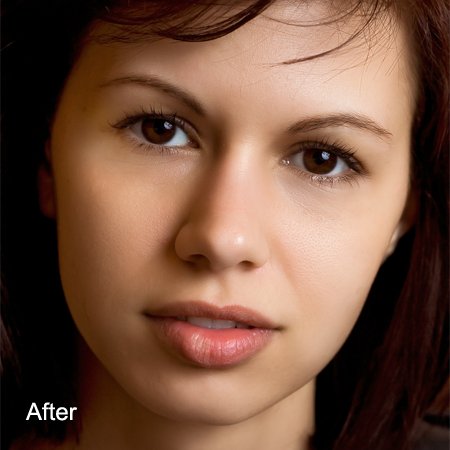
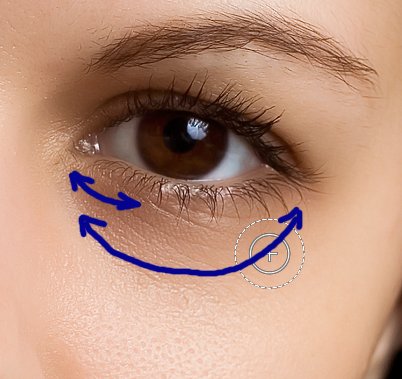
4. Start painting over the areas of dark circles under eyes to dodge (lighten) them. To build up a stronger effect, paint over the same areas as many times as required.
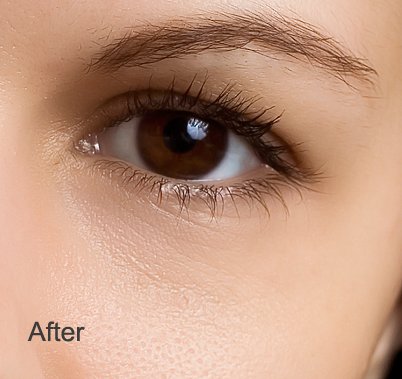
5. After painting, you can tweak the sliders in Foreground panel to refine the overall effect if needed.
Photoshop&Lightroom are trademarks of Adobe Systems Inc.